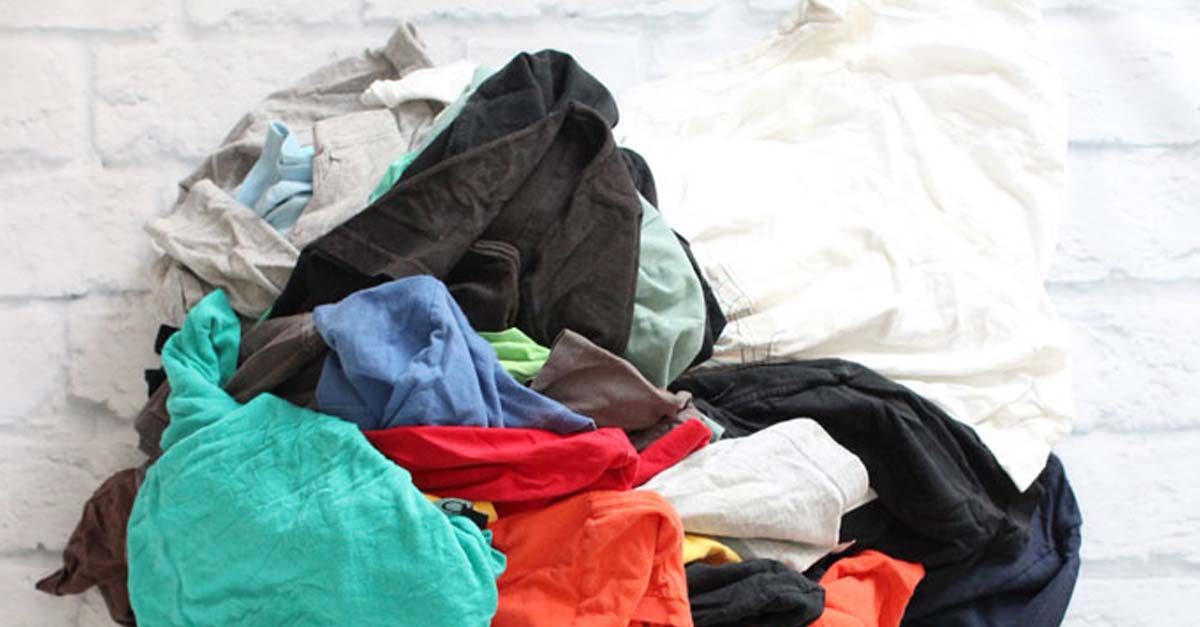
Have you ever looked in your closet or dresser drawers and realized you have way too many T-shirts that you never wear? For some reason I keep every shirt I get with the intentions of wearing it to the gym or to bed.
But nine times out of 10 those musty old T-shirts end up sitting in my dresser never to be worn. Luckily, there’s a way we can get use out of all those unworn shirts and turn them into something we’ll use every day!
Blogger and DIY enthusiast extraordinaire, The Wonder Forest, shows us how to turn old T-shirts into a no-sew braided rug! Although it looks complicated, this rug is actually pretty simple to make, I mean, you don’t even have to sew — how awesome is that?! Although simple, Wonder Forest does warn that it is time consuming.
But it looks so pretty, I think it’s worth the time!
 For this project she used 15 different sized T-shirts for a rug that’s about 30″.
To make your own, you’ll need:
– Jersey T-shirts and/or tank tops in a variety of sizes and colors of your choice
– Scissors
– Rotary cutter (optional)
 Step 1: Cut your shirts into 1.5″ strips going with the width of the body. This is where that rotary cutter comes into play if you have one. Make sure to cut the end of each strip so they’re strands, not loops of fabric.
 Step 2: Stack three strips on top of each other. Tie a tight knot in the top to begin.
 Step 3: Begin braiding the strips together.
 Step 4: Once you’ve braided about 4″ down the strips, coil the braid into a circle (as pictured above) with the knot in the center.
 Step 5: Grab the strand that’s closest to the center and pass it under and through one of the loops in the braid you coiled, as stated on Wonder Forest. This is how you attach the braid to the coil.
 Step 6: Continue braiding a couple more inches — it should be attached to the coil because of that one strand you passed through the knot.
 Step 7: Continue this process. Every few inches, pass the strand that’s closest to the center under and through the existing braid to attach it, she says. Keep doing this and that’s how you create the entire rug! Braid and attach, braid and attach, is the mantra Wonder Forest repeats in her instructions.
To add more strips:
Step 1: Take the attached strand, fold it over and cut a small slit in the center. Do the same thing with your new strand.
Step 2: Line up the two slits that you cut — the one on the attached strand and new strand.
Step 3: Take the opposite end of the new strand and pull it through the back of the slits towards the front, she says.
Step 4: Pull on both strands tightly and they’ll be linked together, she writes!
Repeat this process for each of the three strands to create a new braid.
Wonder Forest states that the rug will bunch up as your braiding it, so she just gave it a little spritz with a water bottle and pushed it back into shape. How cute is this upcycled rug?!
All images and information was sourced from The Wonder Forest — to see the original article click here!
And don’t forget to SHARE the love and pass it on!


