Sometimes getting birthday cards for loved ones can cost an arm and a leg. TheSorryGirls are at it again with another DIY video that just might make us love birthdays even more! These DIY birthday cards are super easy and inexpensive to make. Plus, they say “I love you” better than any store-bought card could.
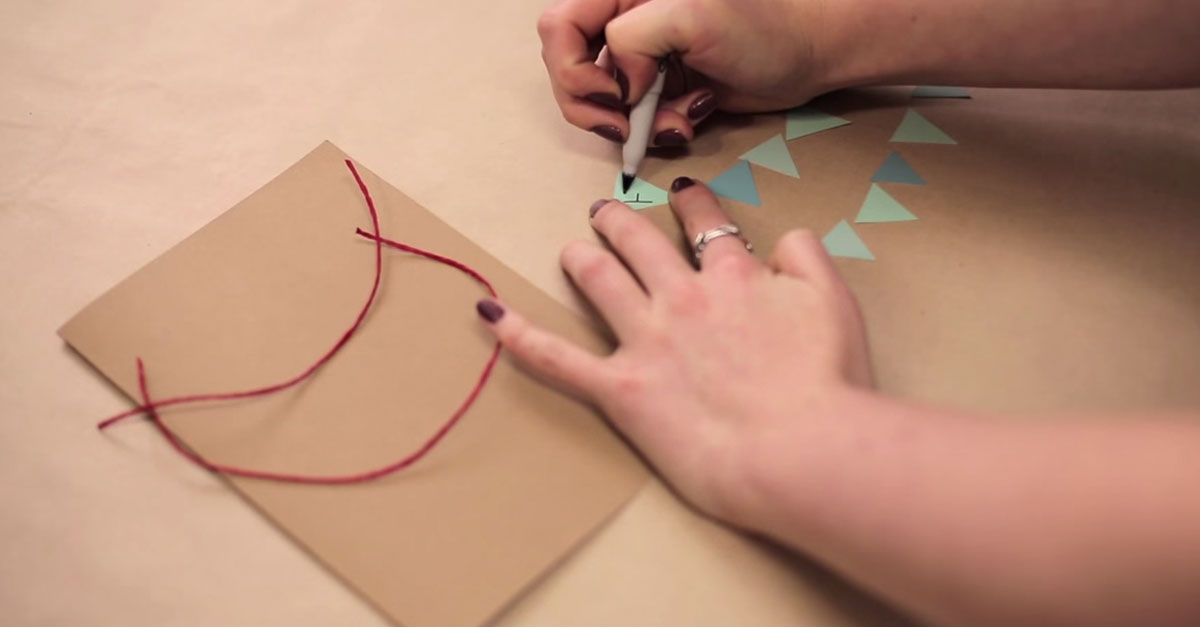
The first card demonstrated in the video uses recyclable cardstock. She folds it in half, cuts red twine into a short piece and a longer piece, and glues the twine to the paper.
We also see our craft friend cut 13 triangles of different color paper. The purpose of this is to spell out Happy Birthday! She spaces out the triangles to ensure the spacing is right. Then she ties a knot and glues the knot over the glued twine. Genius!
The girls make the next card using black card stock, chalk, and a white crayon. She folds the card stock into a half and creates an effect of a used chalkboard by marking with chalk and smudging with her fingers. She warns that this step needs to be done a couple of times for the full effect. Then she designs the card and finishes off with more chalk decorations. Crafty!
Wait until you see the next card, a water color number card. She starts with watercolor paint, watercolor paper, and brush. After she folds the card into half, she uses Bristol board to create a stencil of the number. Using the stencil and watercolors, she paints on the design.
They saved the best for last! They stamped candles on the front of the card then color in the age by adding the number of flames. They use cardstock, eraser, an X-acto knife, paint, and a color pencil. She folds the card stock and cuts a small rectangle out of the eraser using the X-acto knife. She then applies paint on the eraser and stamps the paint onto the card. She starts in the middle to get the spacing right and stamps 100 candles. She finalizes the creation with happy birthday at the bottom and draws in the number of flames for the age of the card recipient.
Now there’s no excuse to send that birthday card to your friend- even if it’s late!
SHARE the love and pass it on.