Just because school’s out for the summer, it doesn’t mean learning has to stop.
One fun, learning opportunity that you can engage in with your kids is to make homemade ice cream.
While you are making the ice cream, talk to your children about why you need to put salt on top of the ice to get the mixture to freeze.
You can tell them that the only way that the ice cream can freeze is by losing its heat and how adding salt to the ice can speed up the process because it lowers the freezing point. They’ll be having so much fun they won’t even realize they’re learning something new!
You’ll need:
-½ cup milk
-½ cup cream
-3 tablespoons sugar
-½ vanilla extract
-4 cups ice
-8 tablespoons salt
-Sprinkles
-Measuring bowl
-Measuring cups
-Freezer bag
-Sandwich bag
To Make:
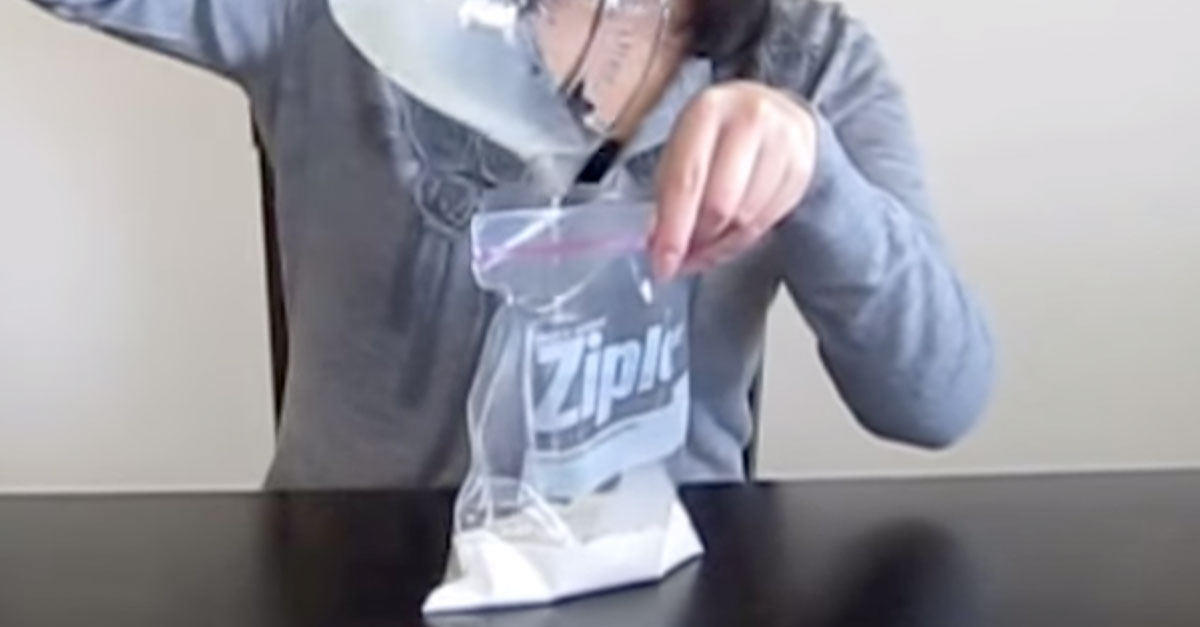
In a bowl, pour in the milk, cream, sugar and vanilla extract. Briefly stir and then pour the mixture into the sandwich bag. Squeeze out the air and seal the bag. Place the ice into the freezer bag. Put the salt on top of the ice, in the bag. Put the sandwich bag into the freezer bag with the ice. Seal the freezer bag and put on gloves. Shake the bags for 5-10 minutes. Remove the sandwich bag from the freezer bag and rinse off the salt that’s on the bag. Scoop out the ice cream with a spoon into two bowls. Add the sprinkles and or any other toppings that you like and enjoy.
So remember that you can teach your kids about science and have fun at the same time. This recipe is the perfect way to teach your children something new and give them a tasty reward at the end. Don’t forget to SHARE the love and pass it on!