The latest craze in Etsy-purchased kitchenware is the rustic-looking driftwood-style knife racks being sold by the ton. Housewives and husbands alike seem to be obsessed with these hardy knife blocks that serve as both decoration for your rural-looking kitchen decor, and serve a functional purpose. You can order these in any size and color of driftwood on Etsy, but they are crazy expensive, ranging from $70 to over $150, depending on how many knife holes you want in your block.
Well when one woman’s old-fashioned, simple rectangular knife block broke, she showed her husband the Etsy pics, and he was amazed. But this handyman of a husband decided enough was enough with spending vast amounts of money on household products he could easily just build for himself.
So he waited until he had a little free time, and then he got a buddy of his who works as a tugboat operator off the coast of Point Bonita, California, to bring him back a few pieces of plain driftwood. Then, he embarked on a journey in his garage, using his own tools and resources, to build his wife and he a driftwood knife block that would be way more decorative and far more useful than any of those expensive ones on Etsy.
Here’s how he made the coolest DIY knife rack that looks like a million bucks!

IMAGE SOURCE: JUSTDIY
First, be grabbed a 3-4” block of hard walnut wood to help reinforce the knife rack.

IMAGE SOURCE: JUSTDIY
Then, he used his table saw to flatten out one side of the driftwood.

IMAGE SOURCE: JUSTDIY
After that, he simply glued the flat side of the driftwood to the walnut block.

IMAGE SOURCE: JUSTDIY
He clamped the driftwood and walnut together overnight to ensure that the glue would hold strong.

IMAGE SOURCE: JUSTDIY
After removing the wood from the clamps the next day, he evened out the back with his CNC router.

IMAGE SOURCE: JUSTDIY
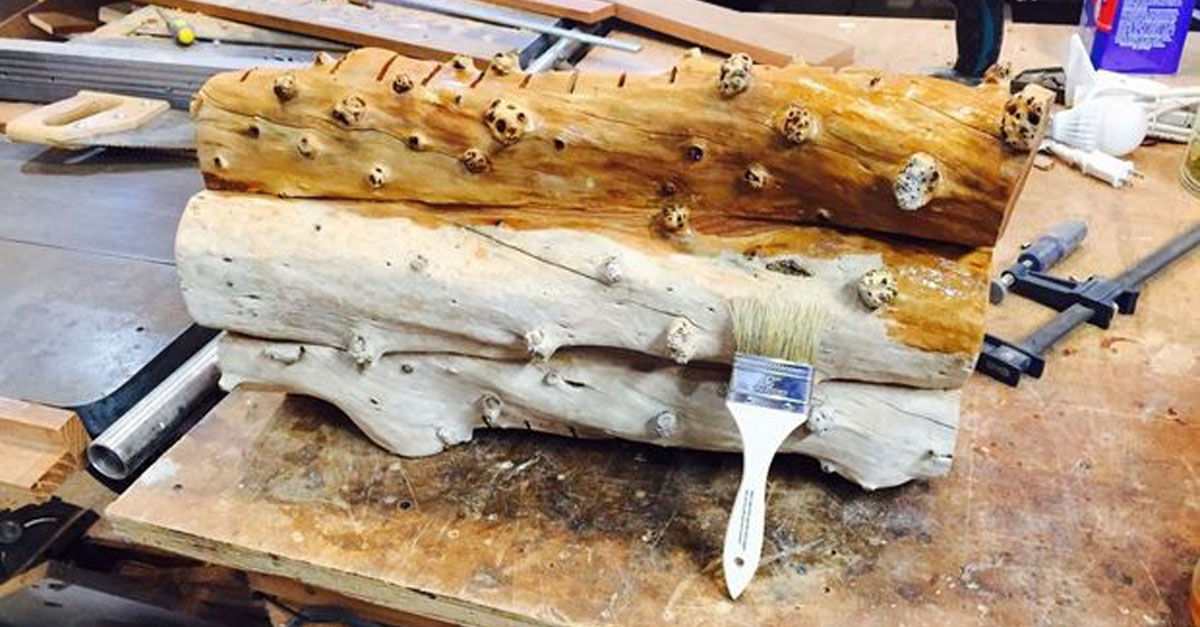
After it was flat, he used his table saw to add 15 knife slots of varying depths.

IMAGE SOURCE: JUSTDIY
Next, the entire thing went back in clamps for one more night, just to make sure it wasn’t going to fall apart.

IMAGE SOURCE: JUSTDIY
When it was done, he took one look at it and his artistic side told him to add one more piece of driftwood because, “It looked wrong without it.”

IMAGE SOURCE: JUSTDIY
Last, he stained and glossed the entire thing with unwaxed shellac to give it a finished look.

IMAGE SOURCE: JUSTDIY
The finished product? A timeless stunning work of art!

IMAGE SOURCE: JUSTDIY

IMAGE SOURCE: JUSTDIY
Impressive, don’t you agree?
SHARE the love and pass it on!
