I love home decor, but I do not love how expensive decorating my home can be. It’s no wonder why I freaked out when I came across TheSorryGirls‘ DIY Paint Chip Calendar tutorial! Not only do I love a cute accessory for my house, I also enjoy getting a little crafty from time to time. This is the perfect, inexpensive project for anyone who needs a pop of color and a little organization in their life.
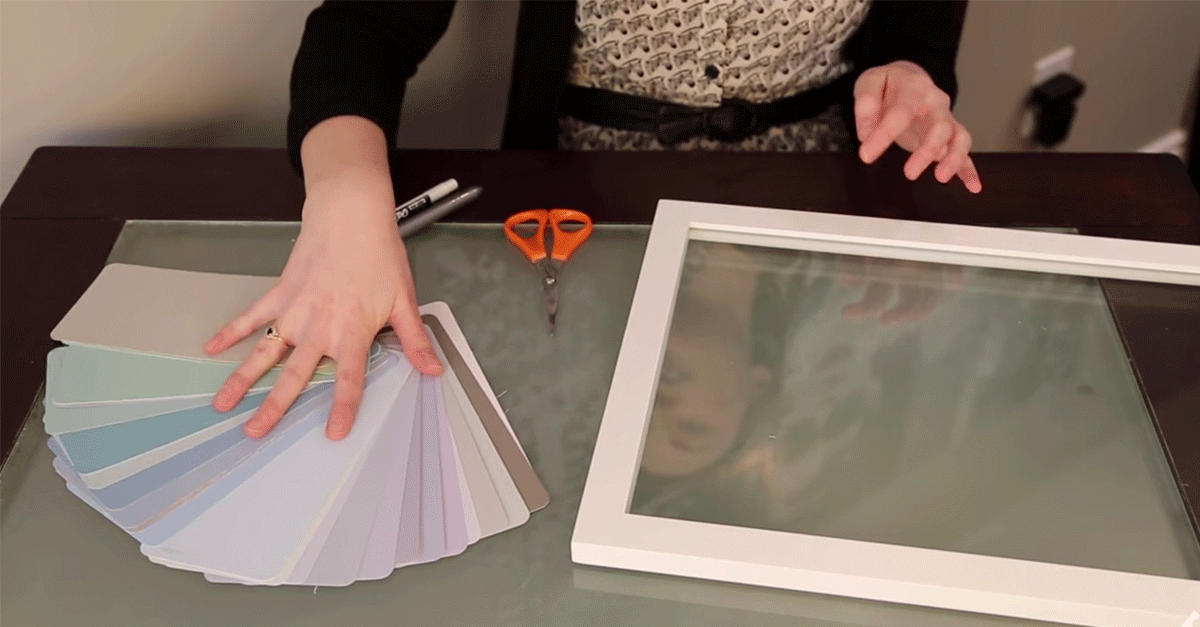
All you need for this project is an empty picture frame, some paint chips, scissors and erasable markers.
First, you will need to measure your picture frame to determine how big or small your paint chips squares will need to be. Once you have your measurement of the squares, line your square up on the paint chips and cut out 35 (times) squares. Once that’s complete, open up your picture frame and lie the squares face down, seven in a row and five down. After you have finished doing that, add small pieces of tape on the back of the squares then put your picture frame back together. Flip that baby over!
To complete the calendar, start numbering the days of the week. Made a mistake? No worries! The great part about this craft is that you can erase this calendar and makes changes each month.
Since that was so easy, she shows us another craft you can make with your leftover paint chips. It’s another paint chip calendar but with a twist!
Display these two adorable calendars in your home, office, or wrapped as a gift for your favorite friend! Enjoy!
SHARE the love and pass it on.