If your bland garage doors need a little spruce, try Faux Windaux to accentuate the garage doors, all while making your neighbors jealous. This simple Faux Windaux installation tutorial will surely be your next summer project!
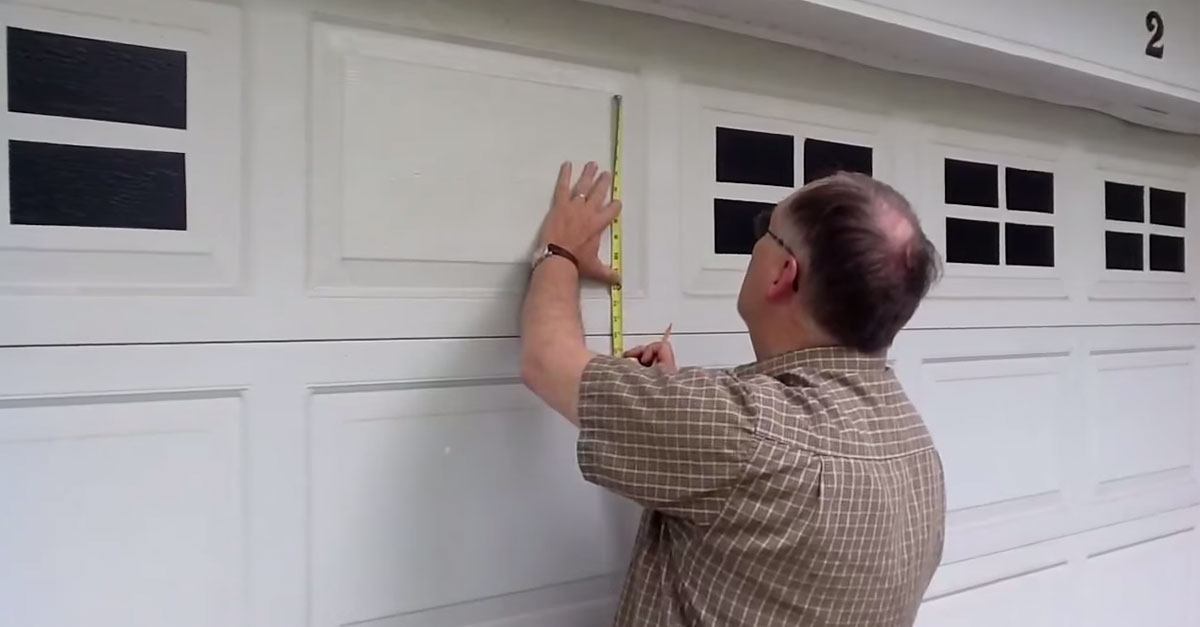
This home hacker suggests that you add the Faux Windows with at least an inch of space left from the border of the square. Use a measuring tape to find a mid-point of the flat panel. You can do that by measuring the length of the panel and marking the midway point, and do the same for the breath of the panel.
Grab one inch painters tape to the make a center cross for the panel. Take one of the faux window stickers, separate the back end from the corner. Peel back half way through (do not peel off the entire back yet), and line it up with the one of the inside corners of the cross. Ensure that the corners of the window sticker is perfectly inline with the corner of the cross. Once the corners are lined up, you can remove the rest of the back by smoothing faux window sticker with one hand and removing the back with the other. Simple as that!
Watch as he carefully lines up all stickers together. If one sticker isn’t on straight, you can remove and do it again. After all four stickers are placed on the panel and lined together, you can carefully remove the blue painters tape. Ensure the corners of all the stickers are perfectly intact by passing your hands over the stickers. Quick and easy!
The stickers are easy to remove as well. Just take a hair dryer and apply heat to the corners of the stickers. Just like that, they come off. If there is residue left back from the stickers, you can use rubbing alcohol or De-solv-it solution to remove.
Hope you loved this diy home project as much as we did!
SHARE the love and pass it on.