
If I told you to go get your favorite photograph and take a pair of scissors to it, you’d probably think I was crazy, right?
Why on earth would you want to destroy your precious picture by snipping it apart? Well let me tell you something, with this great idea came from photojojo.com, you won’t be destroying that picture at all – in fact, you’ll just be enhancing its beauty!
By following the instructions below, you will learn how to turn your favorite photos into a one-of-a-kind piece of artwork you’ll want to hang on your wall, no 4″ x 6″ frame required!
P.S. – while we fully encourage you to use your most loved pictures for this project, we suggest using copies of the original since you won’t be able to restore the cutup versions to their original form!
To get started on this project, you will need:
An 8″ x 10″ unprimed wooden art panel (regular white canvas works, too)
Your favorite 8″ x 10″ photo (or a high quality copy)
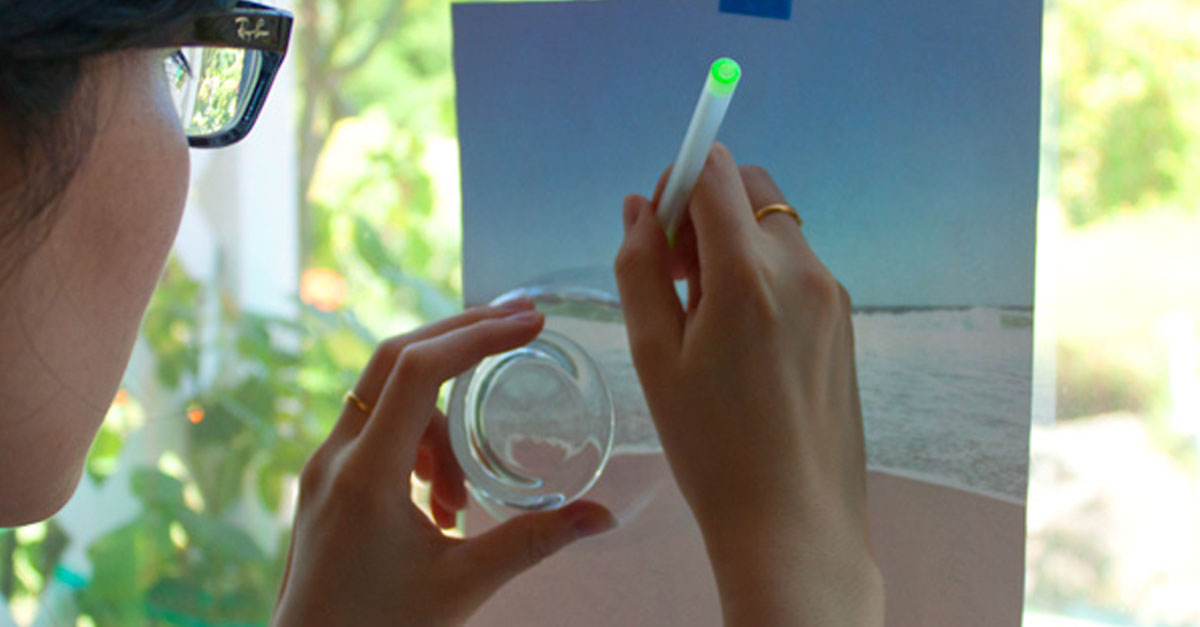
4-5 different sized circular objects, like cups & bowls
Ballpoint pen
Scissors
Small, disposable foam plate
Mod Podge with your choice of finish (they went with matte to match with our photo)
Brush for Mod Podge
Scrap paper to protect your work surface

First, take your photo print and hold it against a well lit window, and tape it to the pane with the back facing you. put it up on a window. Alternating your circular objects held against the paper, trace circles sporadically over the image.
Once your circles are fully traced, grab your scissors and starting snipping away, following the paths of your pen.

Now lay the cut out circles on the piece of wood, mirroring the layout you cut from the image. See the image below for a visual.
Now let’s make these circles stay put! Pour a little bit of Mod Podge onto the small foam plate. and use your brush to paint a thin layer of Mod Podge onto the back of your circular pieces. Repeat until each of your cutouts are set onto the panel and fully dried.
Once they have dried, seal the whole piece with a generous layer of Mod Podge, and again, wait for it to fully dry.

And as easy as that, your adorable geometric photo mosaic is complete!
Get creative and try mixing up the shapes you cut out of your photos, like in the example below!

SHARE the love and pass it on!
