
If I told you you could create a comfortable, lightweight tote bag in just five easy steps, NO sewing involved, would you be interested? Of course you would!
And this DIY project gets even better. The whole craft is made with material you more than likely already have on hand.
Got an extra pillowcase lying around? Who doesn’t? I’ve got about a hundred random pillowcases strewn about the linen closet, so I’m finally happy I can put them to use!
Before you get started, all you’ll need is a king size pillowcase, a strip of fabric (I just used some cut pieces of an old T-shirt), scissors, paint, masking tape and a sponge.
Then simply follow the five steps below from CremeDeLaCraft.com and a couple snips later, you’ve got your very own custom tote bag people will be begging to know where it’s from!

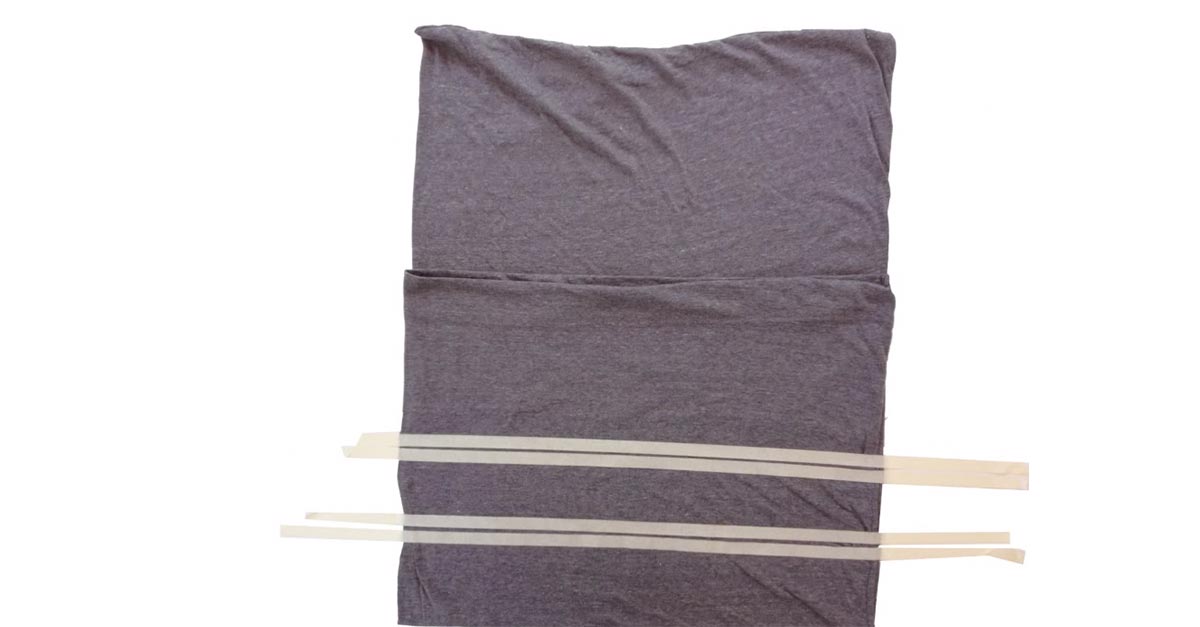
Lay the pillowcase flat with the open end facing towards you. Then grab the open end side of the pillowcase and fold it about half way up.

To add a pattern to the bag, cut out your desired shape from an ordinary dish sponge and use it as a stamp. Dab it in some paint and create your desired design. (See design she chose in the figure below)

To attach the strap, cut small holes on both sides of the pillowcase where the open end meets the back layer. Grab your fabric and knot it on both sides.

Turn the bag over and bring the two bottom corners together. Attach them by cutting a small hole in each corner and knotting them together with a small piece of fabric.

To create a tassel, grab some of your scrap fabric and wrap it around the center of the flap.
And there you have it – a no-sew tote bag made from a pillowcase! For the full video tutorial, please see below!
I know your friends are going to want to know how you did this one, so be sure to SHARE the love and pass it on!