Everyone loves a good marble effect, whether it be on nails or inside of a cake. Today we’re going to add the same effect to some jars that you can use as home décor and lay around the house to spice it up!
Before you start this project, you may want to consider putting down a tarp as well as completing this project outside so that the fumes don’t affect you as much.
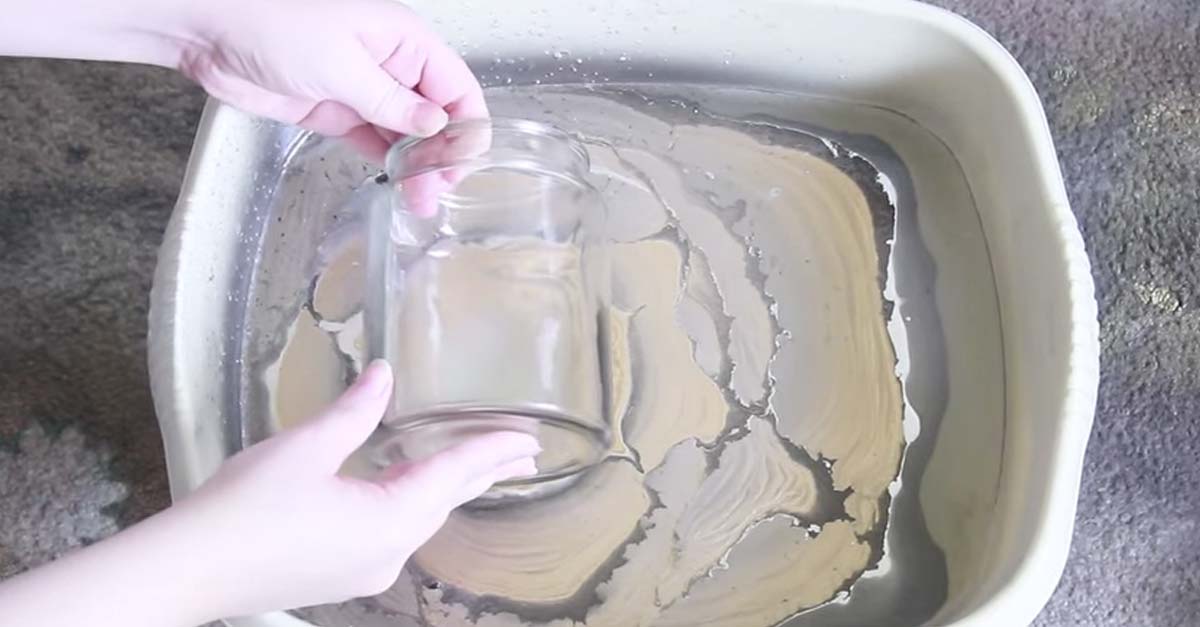
You will want to take an old plastic tub, one that is preferably deep enough to submerge your jar completely. Make sure you use an old tub you don’t mind getting dirty, because it will soon be filled with spray paint.
Fill said tub with room temperature water, and get your spray paint ready. You can use any combination of colors that you would like. This video shows a gold and silver take on the design. You will want to spray the spray paint into the water, but make sure that you don’t do this too close as it will end up creating water bubbles on the jar after you’ve finished dipping it.
Once you’ve gotten the spray paint pattern just right, you can now either dip your jar in if you’ve found a container deep enough to do so, or rotate your jar if there is not enough room to dunk it in completely. It is suggested that you wear gloves when you do this step as spray paint is very hard to clean off of your skin! After you’ve completed the coating of your jar, let it sit for 20 minutes and then inspect it for air bubbles.
If you do experience some air bubbles in your paint, there’s no need to worry! It can all be fixed by taking an object such as a cuticle stick or a toothpick and rolling out the bubbles along the surface of the jar. Now you’re done and are left with a beautiful marbled creation!
SHARE the love and pass this cute DIY project on!