When it comes to getting your nails done or manicures, it can get pretty pricey. Doing your own can not only be fairly cheap, it can be really simple too! This tutorial shows us how to “water marble” our nails and it’s absolutely gorgeous! This can be done with any brand of nail polish, as well as any color you choose. This particular tutorial show us the flower type pattern, but the process is so simple you can get creative and do exactly what you want.
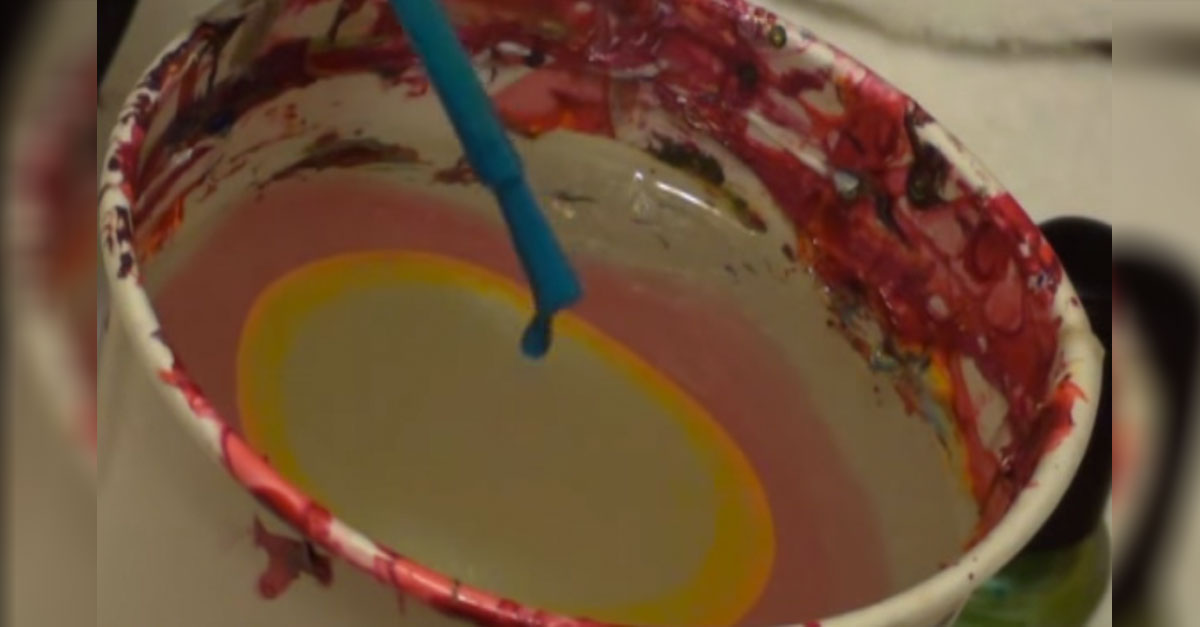
The first thing you need to do is gather your supplies. You will need a cheap throw away cup (this one is a red solo cup), nail polish, toothpicks, paper towels, and nail polish remover. Fill the cup with water and start placing a single drop of nail polish into the center of the cup. You will see how the nail polish will separate and spread out. Continue to place a single drop of different colors of nail polish into the water.
Once the nail polish remains in the center, take a toothpick and pull up on the edge just a tad. This will help you determine if more nail polish is needed. After the nail polish gets to that desired level, take your toothpick and make your pattern. Using the tip of the toothpick, slowly make lines through the nail polish. Be careful not to go deep with the nail polish.
You can make all types of patterns and designs by trying different movements with the toothpick. The woman in the video uses an artificial nail so that she may attach them and go. If you do not like to use artificial nails, you can dip your finger into the water and use nail polish remover to remove the excess from your finger and nail bed.
Paint a top coat of clear on all your nails and you are all set – and fabulous!
Let your creativity go wild and remember, SHARE the love and pass it on!