Art—whether it’s drawing, painting, water coloring or sculpting—is a hugely relaxing, and occasionally profitable, hobby enjoyed by millions worldwide. Often even the basics can look very daunting.
But with the advent of bloggers, the most creative people have come out of the woodworks showing us how to create to a high, and personally satisfying standard. Like this DIY—painting with flowers. It will be your best craft. The finished look is phenomenal.
First gather heavy paper (watercolor paper or hobby paper), flowers or berries, hammer, painter’s tape, and a piece of cardboard.
Kelly from The Journey to a DIY Home explains the steps. First, she went looking the best flowers to use. In her yard, she chose anything with color. But she tested them all to see which produced the best color. Those were lilies and clover, and Chrysanthemum worked great too.
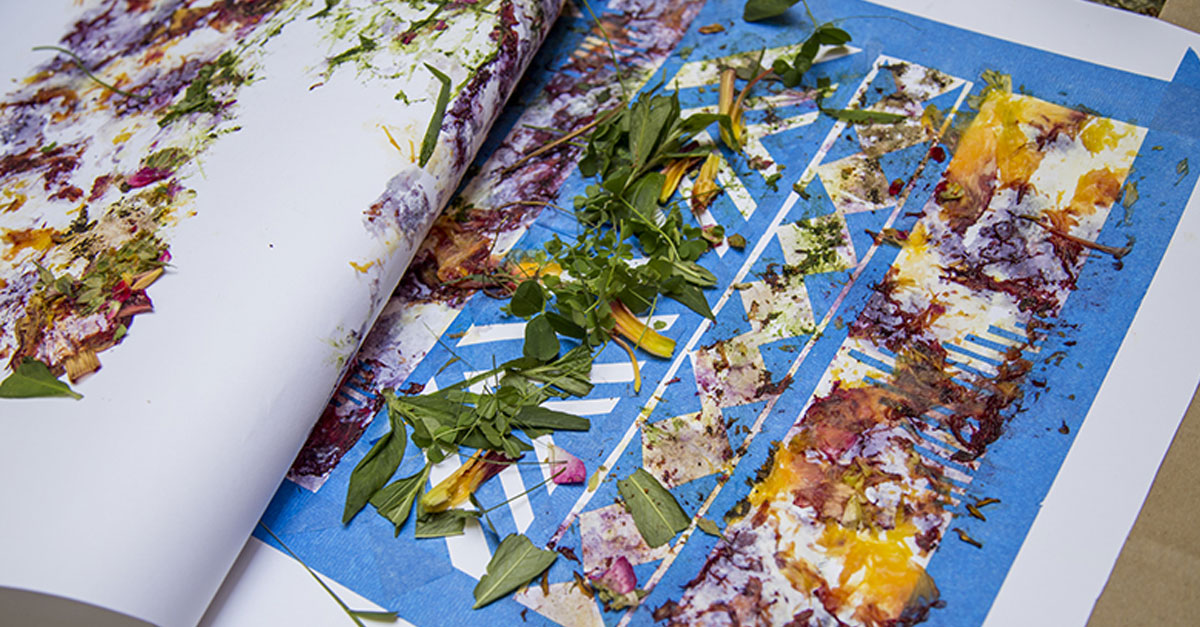
Next, she used painter’s tape to block off the portions of the paper that you want to leave white. She made two versions: one with a tribal pattern and another with a monogram.
She then took everything outside. On a flat surface, she lay the paper with the painter’s tape design, and topped with the flower petals on top of the design. She suggests laying them out randomly or creating stripes of color.
Here is the fun step! She put an extra piece of paper on top of the flowers and smashed the flowers with a hammer (this is the painting step). Next, she carefully peeled away the top paper. Because there were white spaces, she put back the paper and used the hammer some more.
After all of the flower dye juices were extracted due to the smashing, she removed the painter’s tape and allowed it to dry.
Just Fantastic!
SHARE the love and pass it on.


