If you have always wondered where to find tie-dyed roses, you are certainly not alone. Check out this video! It shows how to create tie-dye flowers with just a few easy steps. If you are trying to brighten someone’s day or want an alluring arrangement for your next party, this tutorial explains how to master the kaleidoscopic look.
Kathy the Crafty Chica shows us how to create this fun and eccentric craft. All you need to do is grab some white or cream roses, different color dyes, scissors, a knife and some clear plastic cups (one for each color).
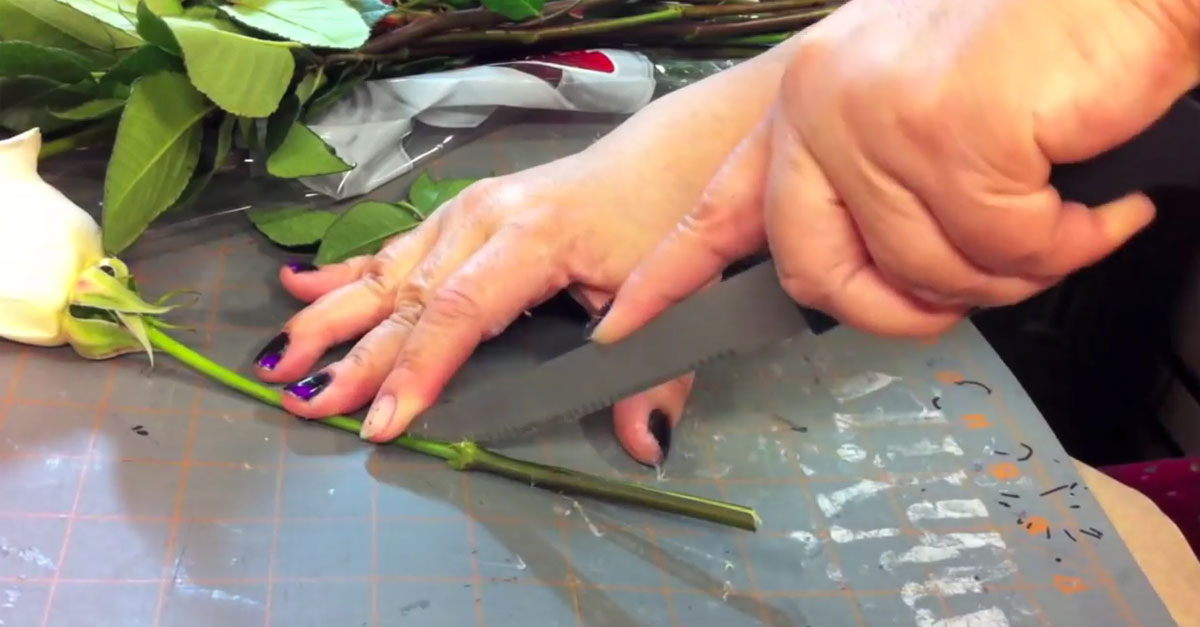
Kathy starts by preparing the roses. She cuts the stems to 10 to 12 inches long at a 45 degree angle. The purpose of the angle is to optimize the drinking surface area. In the next step, she removes all of the leaves.
She then lays the roses flat on a surface area and splits the ends of the stem equally with a knife. Exercise caution during this part of the craft. You do not want to hurt yourself or break the stems.
Next, she mixes each color of the dye in a separate plastic cup. For instance, red goes into one cup, green goes in another; you get the drift. Kathy suggests choosing shades that are contrasting for a more prominent tie-dye effect. You can also create more subtle gradients with more similar colors.
The last step takes a full minute. She places each half of the split stems in a different color. Use a rubber band to hold into place.
To produce a vibrant look, let the stems sit for 24 hours. You may also want to play around with different colors to create the ultimate tie-dye roses.
For the professionals, you can inject the dye into roses that are still growing to cultivate vibrantly hued bushes. Tada!
SHARE the love and pass it on.